Repairs to a ceiling are necessary before commencing any interior painting as there may be damage caused by something as simple as cracked or peeling paint. There could be further damage that has caused the ceilings to be in need of repairs such as water damage which you would want to fix as soon as possible to prevent any mold buildup.
The following are tips on how to repair the ceilings in order to help you prepare the room for painting.

Supplies You Will Need For Ceiling Repairs
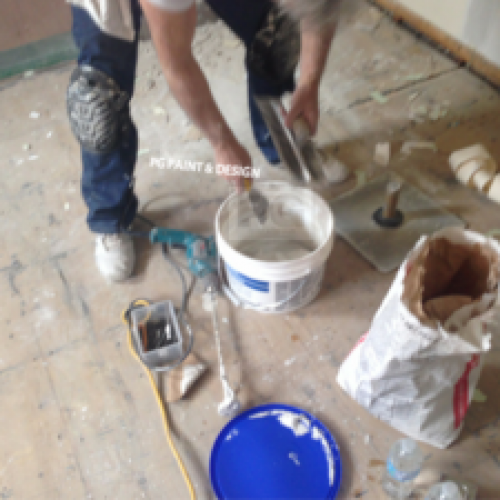
To get started you will need, a putty or drywall taping knife for small repair and possibly a trowel for bigger repairs. You’ll need drywall compound mix to apply to the repair, sanding block and or sandpaper and fiberglass tape for bigger repairs. Paint primer and paint for repainting the ceiling. See the tips below.
-
- Drywall compound is mixed for drywall repairs of ceilings and walls before painting
-
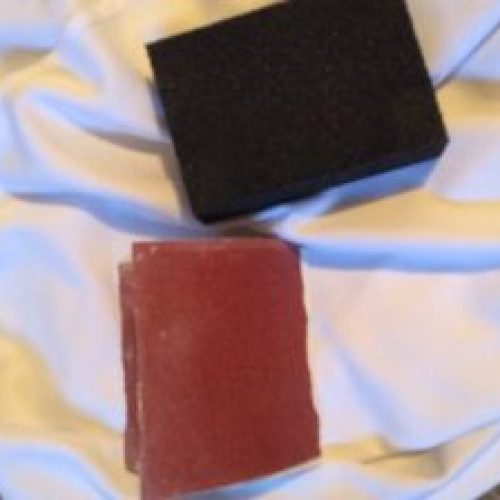
- Sand Paper Sheet or Sanding Block to smooth out ceiling repairs before painting
Tips on How To Repair Small Cracks in Ceiling
Patching small cracks in ceiling are easy enough to fix with quick drying compound that’s used for drywall repairs as well. Follow these steps to apply it.
- Using a taping knife, smooth it over the small crack in the ceiling.
- Let it dry
- Sand it lightly with a sanding block or 80 to 100 grit sandpaper
- Add a thin, final coat of the drywall compound
- Sand lightly again
- Apply paint primer
- Paint the ceiling
Tips on How To Repair Large Cracks in Ceiling
Repairing a larger crack in the ceiling is a little more work than the smaller ones. Follow these steps to repair it.
- You may have to use a scraper knife or putty knife to peel back some of it. This will help the drywall compound adhere better
- Apply a thin layer of the compound then put a piece of fiberglass tape over the crack where you just applied the compound. The fiberglass tape helps prevent the crack from re-opening or spreading.
- With a little pressure on the trowel or putty knife you may be using (depending of the size of this large crack) apply another coat of compound over the fiberglass tape.
- Let it dry for a few hours or an entire day. The drying time will depend on how large the area is and the amount of compound needed.
- Sand it lightly with a sanding block or sander (80 to 100 grit sandpaper)
- Apply another thin layer of compound, let it dry and lightly sand again
- Apply primer paint
- Paint the ceiling

The Finishing Touch for Ceiling Repairs
After you’ve completed the above outlined steps on repairing small or large cracks in the ceiling, you’ve allowed the necessary time to let it all dry, apply the paint primer and then paint the ceiling.
Painting the ceiling in it’s entirety will only be required if it’s the large patch you’ve repaired. It also depends on how old the paint on the ceiling is. If it’s been a few years it’s definitely a repaint of the whole ceiling.
For the smaller repair of the ceiling, the same painting advice applies. Where you can simply paint the small patched area of the ceiling if it’s been a recent painting job. If a few years have passed then if you don’t repaint the entire ceiling you’ll be able to see the difference in the paint colour.
If you’ have any questions related to repairing ceilings or painting simply contact a painting company in Ottawa