Should you paint the interior of a house if you are planning on selling it. Painting the interior of your house not only adds charm,character and a modern update, it also makes a wise investment to put in the extra effort to transform your space and add value to your property.
This is especially true if you plan on putting it on the real estate market. It is a well known fact that most new home buyers in Ottawa today are looking for move in ready homes. They prefer the houses that have fresh and modern paint colours along with the newer appliances and other luxuries such as granite and upgraded kitchens, baths and flooring.

Whether you hire a professional house painter or do the interior house painting yourself here are a few tips and advice on how to do the painting yourself.
Tools and Supplies Needed To Paint the Interior of a House
Proper planning of your time, supplies and materials you will need to tackle your own DIY house painting project is crucial before getting started. With the many supplies needed after chosing the perfect paint colour, the right paint finish these tips can be helpful on all that you will need to get started.
Preparation for Your House Painting
Before you get started on any painting project you will want to make sure you buy the best of products as they will make the biggest difference in how the whole thing turns out. From buying the paint brushes and rollers, purchasing the best water-based acrylic/latex paint for the interior surfaces you may find that hiring a painting company is best, as costs increase throughout the progress of the project.
Here is a list of supplies and materials you will need to purchase so that everything runs smoothly and you have everything you need to get it done.
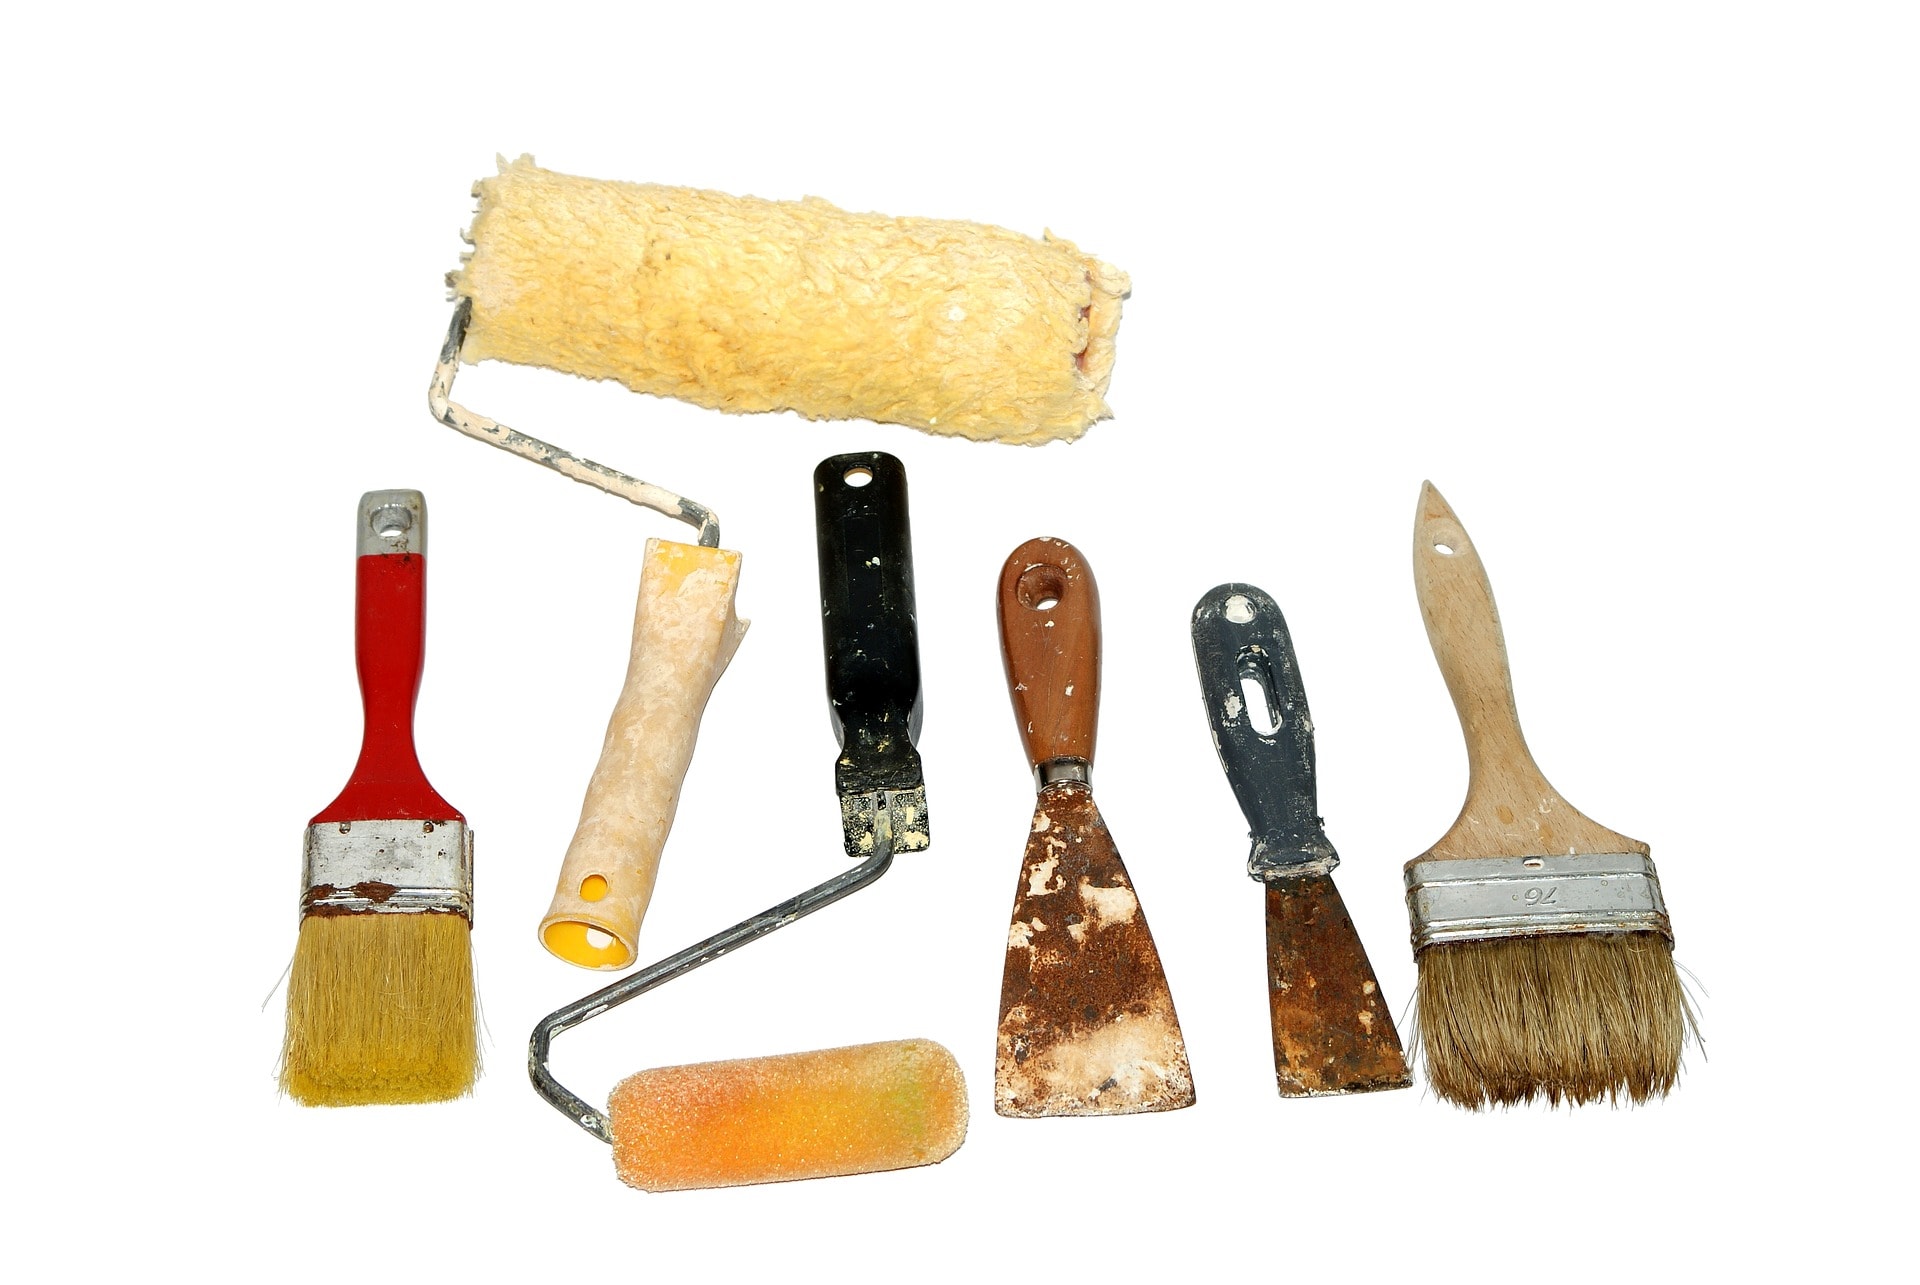
Materials & Supplies you will need to paint the interior of a house
-

- Painters Tools
-

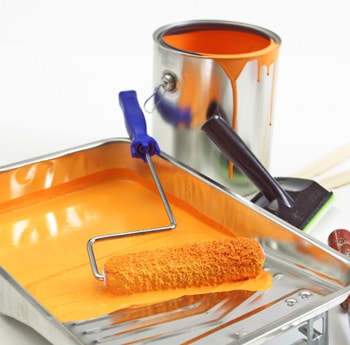
- Painting Pan and a Can of Paint
-
- Plastic Wrap to cover all furniture

-

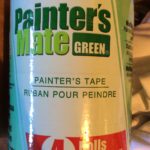
- painter’s tape used for anything you don’t want paint on
-
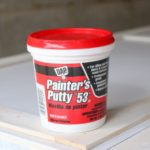
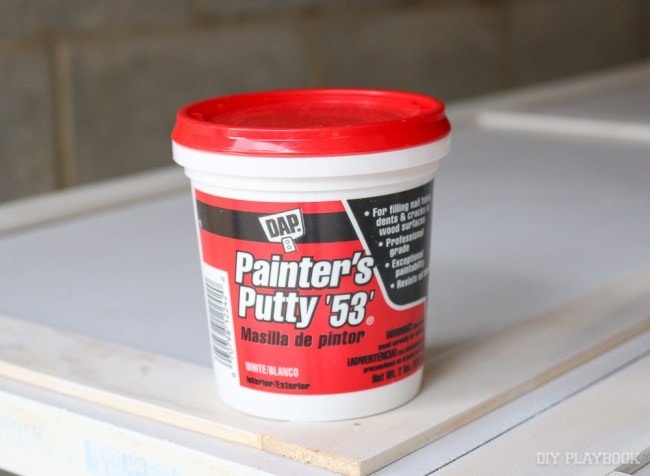
- Painters putty for repairs to nail pops or drywall
-
- Sand Paper Sheet or Sanding Block to smooth out ceiling repairs before painting
-
- painter’s tape used for anything you don’t want paint on
-
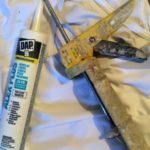
- Caulking is used to seal any gaps around trim, baseboards, window frames or ceiling woodwork
-
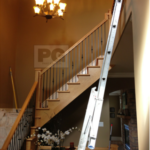
- High Ceilings and Walls are not reachable without a ladder
-

- Drywall compound is mixed for drywall repairs of ceilings and walls before painting
-
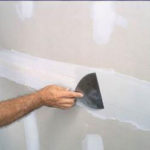
- applying drywall compound to drywall repairs to prepare for painting
-

- Paint roller for painting
- Paint Brushes (buy at least 2 in various sizes, and at least one or 2 angled paint brushes to paint cut-in lines)
- Paint Rollers
- Paint roller extension pole to attach so that high corners ceilings and other wall spaces can be reached easily
- Paint Trays or Pans
- Painters Tape
- Paint Primer
- Paint
- Paint Stir Sticks usually these are free of charge at any painting store
- Paint can opener
- Plastic Wrap (to cover and protect furniture)
- Drop cloths (to protect floors)
- Drywall compound (premixed if you are just repairing a few patches) If you are restoring an older home like a 1950’s home where there are more drywall repairs required or perhaps you want to remove stipple ceilings, then plan on buying the dry powder bag and mix it yourself (you just need to add water and mix, directions are on the bag) as this will be more cost effective in the end
- Step stool or 4 step ladder
- Putty (to fill nail pops or holes and other small imperfections or cracks in the walls)
- Putty knife helps to use drywall compound to fill in small holes or cracks
- Trowel usually only needed if you are doing big areas of drywall repairs as it aids in the application of the compound mix easier to apply and makes the job go faster otherwise the use of a putty knife should do the trick to fix small imperfections
- Drywall Tape (only needed for big cracks, holes or major drywall repairs)
- Caulking, caulking tube and caulking gun buy at least two for filling in the cracks around the trim, baseboards, door and window frames, and any woodwork such as ceiling crown molding or wainscoting on the walls
- Sand paper and a sanding block
- Screwdrivers and Hammer (screwdrivers are always handy and will be useful to remove all electrical plates from walls, and a hammer is simply a must for any homeowner, in this instance it will help you pop any nails back into the drywall)
- Rags to clean up and paint drops or drippings
- Sanders (you may need to invest in purchasing a small hand held sander if you’ve had to make a lot or big sized drywall repairs)
Plan on spending anywhere between $200 to $400 to buy the above materials as it will depend on the coverage area and the quality of all the materials and supplies you buy.
You don’t really want to go cheap on these products as the end painting result won’t turn out as perfect as you had hoped. If you’ve hired a professional house painter then these costs are included in the painting estimate and quote and they supply all the materials.
Tips on How To Paint the Interior
Getting started on interior painting is a huge commitment of time and money. Budget to purchase all the tools and supplies you will need to get everything done safely and properly. Calculate the pros and cons of doing it yourself or if you should find painters you can trust to hire.
If you are going to tackle this big project on your own then here are a few suggestions on how to paint the interior of your home.
Make sure to include your partner and family members on the choices and decisions. When everyone is on board you can all share ideas on paint colours so that everyone’s creativity and personality shines through and making the decision of whether it is better to do it yourself vs hiring a professional painting contractor is the best choice for you and your family as it will take up your time and energy.

If you have a vision from one of the many DIY shows or you have been saving photos from your favourite home and decor magazines, start planning for it. Start by cutting the photos that have inspired you and create a folder or scrapbook to save them in. Save paint colour samples in the same folder, a piece of material from your favorite blanket or pillow, anything with a colour you love and dream of having in any of your rooms is perfect to save in your project binder folder.
If you love the online versions of looking for your favourite paint colours then create or pin from Pinterest or Houzz they are both amazing home decorating ideas websites that will keep you clicking and saving on every possible shade of paint colour. You can also go on a tour of the many new homes and condos models in the Ottawa area that will provide you with inspiration and a great visual as to what some of the popular paint colours may look like before you choose them as many of the new home models are decorated in the most recent modern trends.
Once you have chosen the right paint colour that can even make a small room look larger or that perfect splash of colour on an accent wall then it is time to decide on the right paint finish as it will depend on the different rooms functionality that you need to decide which will be the best type of paint finish.
Choosing the Paint Colour and Paint Finish
Making the choice of choosing a paint colour is not easy with such a huge selection available from every paint manufacturer. If you go to Benjamin Moore Website there are thousands of colours, hues and tints to choose from.
 As overwhelming and exhausting it can be to try to decide on that perfect shade, you can simply walk in to any paint store selling the Benjamin Moore paint products and they can help you select the right paint colour for you. You can also hire a professional painting company, to guide you through some of the selection of paint colours, sheens and finishes with a paint colour consultation as the painters will have enough years of experience and knowledge to be able to offer you the advice necessary.
Remember that once the paint colour is selected you then need to choose a finish or sheen. Be mindful that gloss or high gloss paint finishes will give you a shiny and easy to clean surface yet will show all the drywall imperfections in the walls such as bumps, holes, patches, etc. They will be more visible then on the higher gloss finishes as opposed to a flat or eggshell paint finish. We recommend the best paint finish to use when painting your kitchen or bathroom, living room, bedroom or entrance hallway.
It can be challenging to paint adjoining rooms or open concept living areas, but you can compliment the rooms by choosing a lighter shade for the ceiling, going two tones darker for the walls and why not add even more drama with a bolder and darker accent or focal wall such as the fireplace wall in the family and living room. Complimentary colours are paint colours that are in the same family meaning that on the paint colour samples you will start with the lightest hue and move up to the darkest shade available in that particular colour.
Keep in mind that while neutral and light colours can work for any room, why not take it up a notch and add a splash of colour by going bold. Go dark or light, just have fun and be creative.
Estimate How Much Paint You Will Need
To budget for how much will paint cost you will need to take the measurements of the square footage of the room. Knowing the measurements of each room will be useful in estimating how much paint you will need to paint. By calculating the height and the width of the walls and measuring for painting you will have the necessary information of the cost of buying paint.

The calculations will provide you with an estimate of how much paint you will need, but it is easier to be under rather than over when buying gallons of paint, especially if you choose a special tone or hue as they are non refundable at the paint stores. Once a paint colour is created specifically for you it is non-refundable, therefore we would advise that if you calculate and estimate you will need four cans of paint, just buy three to get started and if your need a fourth it will be easier and cheaper to buy that one more extra paint can.
As opposed to a specially formulated paint colour, if you buy a few extras in the white, these are most times exchangeable and or refundable. Because paint stores can re-use a white can of paint again to create another special colour for another customer, they may take it back if you have any extra.
In short if you have left over paint be aware that if it is tinted in a colour it is non returnable and non refundable as opposed to any white paint can be returned and refunded.
Budget For How Much Will It Cost To Paint
The cost of paint will vary from each paint manufacturer and are dependent on the finish and the quality you choose. Each manufacturer makes a lower end and higher end paint product.
On average most homeowners choose the middle to higher end paint product as they are the best bang for the buck. Splurging the extra money for top quality paint will give you longer lasting results, better application and the paint is easier to clean and more durable than the lower end. Typically average costs to paint a room will run you anywhere between $350.00 to $500.00 dollars.
When adding up the costs of painting these are a few things you will need to consider and weigh in on the pros and cons of doing it yourself or hiring the right painting contractor.
Prepare the Room for Painting
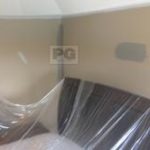
Moving all furniture and accessories such as pictures, art, lamps into the centre of the room are a few things you can do to prepare and will give you the space to move around freely as you paint the room. Make sure you cover everything properly to ensure it is protected from any paint mishaps like paint drops or spills.
-

- Cover the floors and furniture before painting with heavy duty drop cloths
-

- Cover all areas you don’t want paint on
-
- paint colour samples brushed on walls and proper furniture protection
-
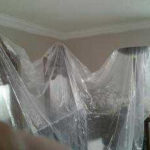
- Put all furniture in centre of room and cover with plastic before painting
Repainting the entire house before moving in will be the easiest and fastest way to get it all done as it already empty and no furniture needs to be moved out of the rooms, nor is there a need to remove any wall art or pictures. Things like the electrical outlet covers can and should be removed, drop cloths should be placed to cover all flooring areas and if you are unsure about cutting a straight line when you are painting using painters tape is advisable to be placed anywhere you do not want any paint to be.
Our suggestion for you is if you are already living in the house just start by painting one room at a time. This helps alleviate disruption of the entire household and allows you do things at your own pace.
If painting the entire house at one time then a good idea would be to empty out each room and if you have lots of items to be removed you can also rent a pod or storage unit.
Start Painting
Assuming you have done all your drywall repairs and patching, have filled any imperfections or nail pops in the walls, have sanded the surfaces to be painted to a smooth finish you are now ready to to begin the process. The following are necessary to get the best end result.
 Patching & Sanding: Before you begin any painting you need to go around the room or rooms in the house and patch any holes or cracks created by nails or imperfections in the drywall. Patch them with either putty or drywall compound, then sand to a smooth finish before applying a paint primer and then the finishing coats.
Caulking: Before a painter applies paint they ensure that all cracks in wood work such as around window frames and door frames, baseboards and trim, or if you have crown moulding (a.k.a.) cove molding is sealed with caulking and you too should ensure you caulk all these areas before painting. It seals any gaps between the wood and the walls before paint is applied.

Paint Primer: Before you apply a new paint colour to the walls you will want to use a paint primer. It is absolutely a must that you use a paint primer on new drywall. It will provide a sealing coat before the paint colours are applied. New drywall tends to soak up paint like a dry sponge, so if you don’t use a paint primer you will be painting way more than 2 coats of finish.
If you are painting a light colour over a light colour you can sometimes skip this step especially if no major drywall repairs were done. If painting over a dark colour then you will want to use a paint primer as it provides better coverage. You can have the primer tinted close enough or exactly like the paint colours you’ve chosen for the walls. Paint Primer will make it easier in the end to ensure the 2 coats of paint finish give you the perfect end result.

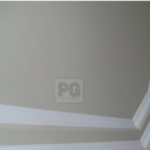
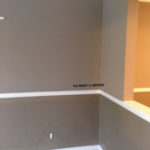
Cutlines: Cutting in the edges in a straight line where the ceiling and wall conjoin as well as with at the trim, baseboards and any crown molding may not be as easy as it may seem on reality tv shows or on youtube. To avoid overlapping paint you can use painters tape, as a guide to be able to follow in a straight edge.
Using an angled paint brush start painting the corners of each wall where the ceiling and walls meet, then cut around the window frames, trim and baseboards and any other wood work you have in that space. Paint at least a 2 to 3 inches border all the way around as this will make it easier to use the paint roller. An angled brush is preferred for painting straight cut lines because it ensures the paint is evenly brushed on and gives you that added edge of getting into the corners rather than a flat or straight brush. After the paint primer, paint the cutting lines twice over. Painting two coats will hide the area where the paint roller and brushed paint meet, therefore creating the invisible finish.
Trim: Painting the trim around the window and door frames in any room is the same tedious and strenuous job as the cutlines. It requires a steady hand to get the meticulous end detailed painting result.
This may be a job you can share with the person or people who are helping you in this house painting project. Remember if you don’t trust yourself or your helpers to have a steady hand then make sure that painters tape is up before you begin.
-

- Painting the cove molding also known as crown moulding
-

- room with crown moulding, baseboards, wood trim around doors and windows
-
- wood trim details on ceiling a.k.a. cove or crown molding
-
- painting wood trim on centre of the wall also known as wainscotting or chair rail
Paint Rolling: After all the cut lines have been done around the walls and trim you begin using a paint roller to apply the first coat of paint. It usually takes 2 coats of any paint product to ensure perfect coverage. Paint two coats of your final paint colour on the walls, ceiling, all trim and baseboards.
Clean Up After Painting
Cleaning up after completing painting job is time consuming and tedious here are a few tips to help with the clean-up afterwards.
Remove all the painters tape while the paint is still wet. Begin by peeling it off on an angle, this will reduce the risk of chipping the fresh paint. Painters tape once dry is more vulnerable to chipping and peeling off more paint then you really wanted to.
Remove all drop cloths from the floor that were used to protect the flooring and or carpeting from paint spills. Fold them inwards as this helps to alleviate any dust particles from flying onto your freshly painted walls. Seal and close up all the paint cans that still have paint in them, to save for future touch up or repainting or make sure to properly dispose of them responsibly and environmentally safely. Wash paint brushes and paint rollers so that they maintain their quality, and you can easily store them for a future project.
You may also have gotten paint on your hands, face or clothing and are not sure how to remove it. Read the article on how to remove paint. This article offers tips and suggestions on how to remove both water based paints and oil based paints from skin and clothing.

Now it is time to sit back and proudly admire the accomplishment of finalizing your house painting project.
If all of these interior house painting tips have you thinking you should hire someone in the home services field, simply contact your local painting company.
This post was originally published on Jun 25, 2017 at 19:48 and edited on Mar 19, 2020 at 15:02