Preparing the drywall before paint application ensures a better and longer lasting job well done.
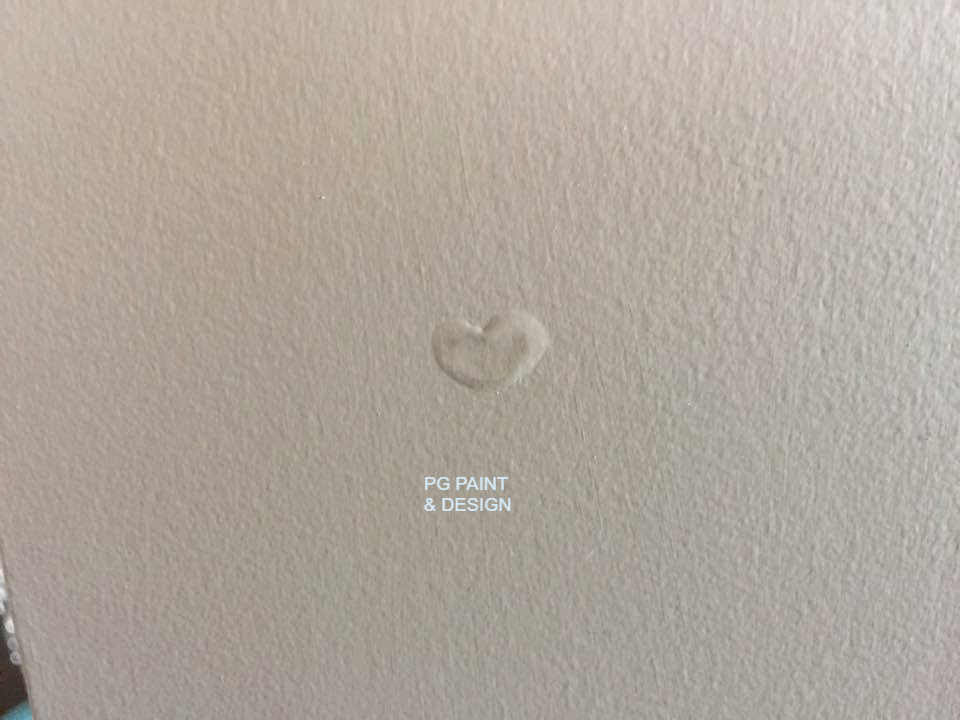
Fixing the most common drywall flaws before painting such as nail pops, cracks, corners bubbled or blistered paint and holes are the most common of patching and repair situations.
Why Are Drywall Repairs & Patching Needed Before Painting
We have been asked before by homeowners getting an estimate to paint their home. They wonder why we tell them we have to patch or repair the drywall first.
They tell us we’ve been keeping our home in mint condition why do I need to do repairs to the drywall before painting the walls.
We totally understand that homeowners take great pride in keeping their homes in great shape and condition. But inevitably repairs and patching are always required in any home.
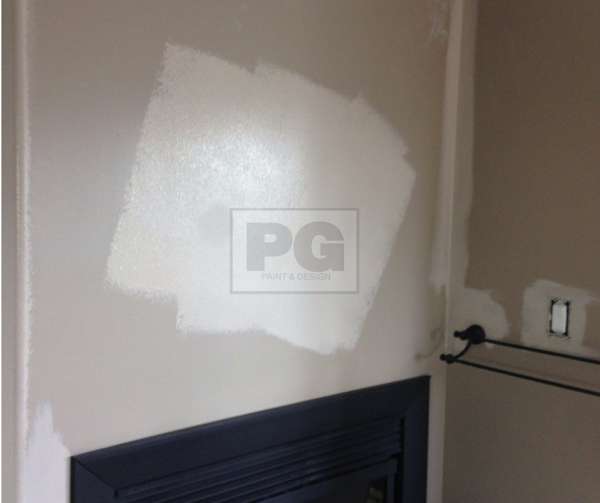
Now you may be asking Why? We try to explain a few of the reasons below:
Sometimes flaws and imperfections in drywall are caused by bad taping and mudding work. Whether it was done by a professional or it was an attempt to a DIY project, it’s best to fix these before painting the walls.
In time, whether it’s a few months after moving in to a newly built custom home, or if you’ve been living in a house, condo or apartment for a few years, shifting happens. Shifting occurs as the wood that was used to build the home adjusts to the different temperatures being external or internal.
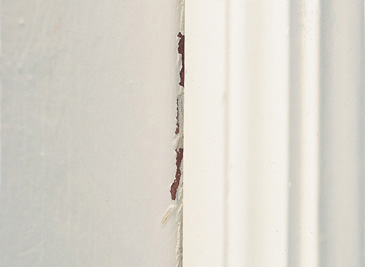
The homes are built at any time of year. Therefore the wood used to build the interior of the home tends to absorb a lot of the exterior elements before the house is completely built.
Once built, the new drywall goes in and then the siding and roofing completes the home only then is the wood protected from the exterior weather.
Over time, the wood on the interior will tend to crack and shift, it’s a natural and normal thing to happen.
When you hear the crackling or see the cracks in the walls it’s because the wood that was used to frame the interior of the house expands and constricts as it adjusts to not being exposed to the outdoor elements any further.
When you think about it, the wood that was outside absorbing rain, snow, heat, humidity and sun for days, weeks and sometimes months is now on the inside.
What happens is it tends to dry up as it’s no longer exposed to the outdoor elements. As it dries, it is also adjusting to the new indoor climate.
Tips for Drywall Repairs & Patching
There are a few other reasons as to why drywall repairs & patching are needed before painting such as:
- Dents from furniture
- Holes from Shelving and pictures or art work
- Door Knobs that are pushed far enough into a wall to create holes
- A new wall goes up to divide and separate a room or if it is torn down to give an open concept to your living area
- Installation of new windows or doors will need repairs to the drywall before painting
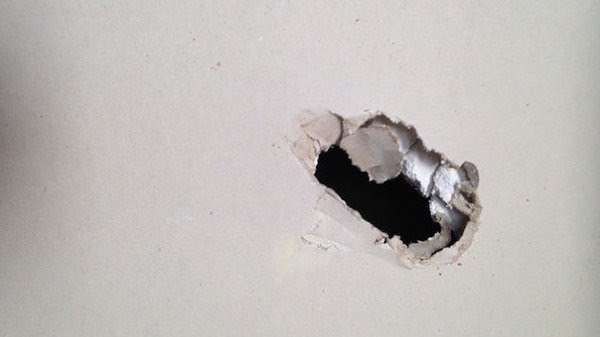
And pretty much just the everyday day to day living causes dents, scratches, holes and scuffs.
You probably get the picture by now that it’s normal to hear all the crackling sounds and to see the cracks in corners of the walls or the nail pops. It is normal as everything adjusts to the new climate and environment.
If you question whether the cracks are simply cosmetic or if they are a structural issue, this article from Bob Vila will help explain and clarify more.
You don’t need fancy or expensive tools to get started. These interior house painting tips will help get you started and end with the professional results you are after.
It doesn’t matter if a pro installed the drywall, and did the professional taping and mudding, or if it’s already been painted by a professional, there are no perfect walls anywhere. So let’s go through a few more tips on how to prep for painting.
Tip 1
Find the flaws on the walls by taking a close up look. Sometimes holding a utility light (which is stronger and brighter than just a regular flashlight) will help you notice the imperfections in the drywall along the walls, corners and baseboards of any room.
They are more emphasized with the bright light shining allowing you to pick and spot them a lot faster.
Once you’ve found them, if it helps you can circle with a pencil or stick some painters tape so that you’ll know where they all are once you are ready to get started with repairing the drywall.
To prepare the walls for painting start with these tips on how to prepare drywall before painting.
Tip 2
Using paintable latex caulk apply a thin bead to any cracks in the corners of the walls, ceilings and baseboards.
Once you’ve squeezed the caulk over the crack, simply use a wet fingertip to smooth it out and ensure it goes all the way through the entire crack. Smoothing it out gives you a smooth finish obviously for once the paint is to be applied. There is no need to go to heavy on applying the caulk.
Caulking fills the gaps and cracks and prevents them from reappearing.
Tip 3
Patch any small holes with some drywall compound. Simply apply it to fill the small hole. Smooth it out with a putty knife.
It will have to be lightly sanded before painting, but that imperfection is done with now and we move on to the next.
If the hole is bigger say a medium size that would have been caused by a doorknob going through the wall for an example as to what size the medium hole could be.
For a medium and above sized hole in the wall, you’ll have to repair it with a little extra elbow grease.
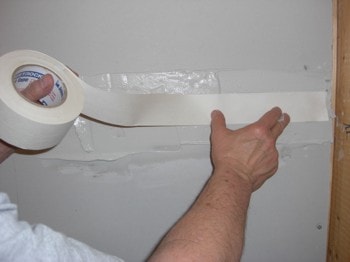
A previous article on how to paint the interior of a house provides you with a guide, steps and a list of tools you will need and further tips and advice.
After all the holes have been patched, nail pops have been filled, and drywall is repaired you’re ready to get started with the paint job.
First you’ll need to start with a good paint primer.
After choosing your paint colours, you can follow these 3 tips to buying paint and estimate the cost of the painting before you get started.
Now all of the above tips are useful and helpful for your DIY projects but if you want to alleviate the pain staking time and effort there’s always the right painting contractor who can provide you a quote or estimate for all the work that needs to be done as well it can make things easier.
Read more tips on painting that will help.
A professional painter will provide you with a detailed list that includes the costs of all the materials, any and all repairs, and the labour into one painting quote.
They can help you with making choices such as how to pick the right paint help you choose the finish or sheen, explain how the natural as well as artificial lighting in the room can affect the final result of the shade of paint colour.
