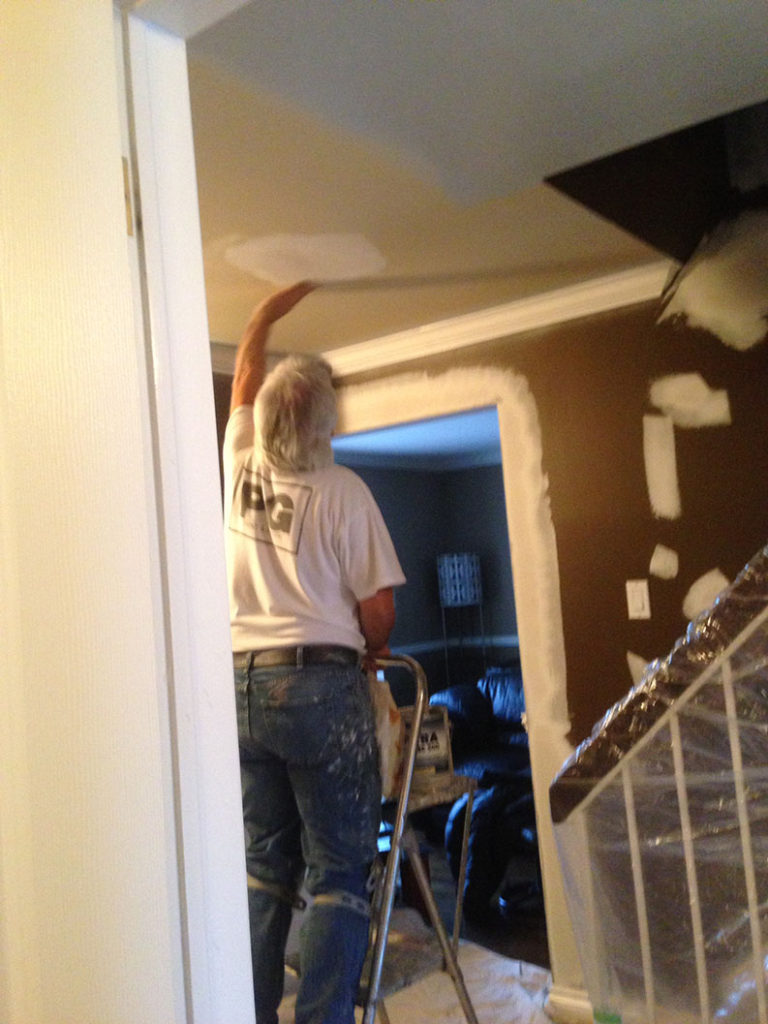
Repair work around the house is inevitable, and things can happen that would cause damage to the walls or ceiling of any interior. Our Canadian winters can be harsh with ice and snow build up that can sometimes leak through the roof and cause damage.
Whether it is a water stain from the leaking roof, or the tub overflows or toilet tank leaks, you will notice the water stains on the ceilings which would then lead to patching of the ceiling.
If you have noticed any type of damage to the ceilings in your house make sure to investigate what the root of the problem is before you move forward with any patching of the ceiling drywall. The following tips will help guide you to repair ceilings on your own.
Ceilings are less likely to receive the same damage as walls, but damage can occur as previously mentioned from a leaking roof or tub or toilet leak from a bathroom above. When this type of damage occurs it sometimes is more of a process than just painting over the water stain.
First and foremost you need to find the root of the problem. If it is the leaking roof that needs to be fixed otherwise you will continue to have water stains on the ceiling that will continue to spread. Ignoring any type of leaking problems can lead to moisture build up, which will lead to mold growth. Mold can be removed, depending on what type of mold is present. You need to identify it before painting over any mold.
How To Patch A Ceiling
A smooth flat ceiling is easier to repair then a stipple textured ceiling. Doing your own patching can be fairly easy. Here are the steps you need on how to do it.
Step 1 – Measure – Take measurements of the area that needs a new piece of drywall
Step 2. Place drop cloths, plastic sheeting or even newspapers on the floor to protect it from any dust or dropping of the drywall compound
Step 3 – Cut out a square piece of the drywall using the measurements you took earlier
Step 4 – Place the cut piece into the hole and secure it with a couple of drywall nails.
Step 5 – Fill in over the cracks between the new piece of drywall and the old using a putty knife. Spread a thin layer of drywall compound
Step 6 – If drywall tape is necessary this is when you need to add it. Note: If the drywall patch is less than 6 inches the need for drywall tape diminishes
Step 7 – Apply 2 to 3 coats of compound and leave to dry in between each coat
Step 8 – Sand the newly patched area to a smooth finish
Step 9 – Apply a coat of primer paint
Step 10 – Finally paint your paint colour of choice with 2 coats paint finish .
Tips for Patching Stipple Ceiling
Ceilings can be of a different texture but once there is damage they will need to be repaired. A textured popcorn or stipple ceiling will require extra work to repair as opposed to a smooth flat ceiling.
Stipple ceilings are very common in most homes especially for those built before the 1980’s. Other than the simple fact that it is cheaper to spray stipple than to prime and paint a ceiling the only other good thing about them is that they can provide a sound proof like barrier to a room.
Stipple can be removed from the ceiling by either covering it with a new sheet of drywall, then mud, tape, sand, prime and paint it but it can be an expensive process. Repairing a stipple ceiling can be tricky as it is not just a matter of adding more stipple. There is a process of changing the damaged drywall area, taping, mudding, sanding, priming and painting it. Here’s what you need to know when patching a ceiling that has stipple.
Tip 1 – Find the Root of the problem
Finding out what the actual root of the problem and damage to the ceiling is from is the first step before starting any patching or repair work. Water damage to drywall left without repair can create problems of mold. Simply painting over mold or mildew will not solve the root problem. At times the experts need to be called in.
You may have noticed there are cracks in the ceiling that could be from the shifting and settling that naturally and normally occurs in all homes, but further investigation to ensure it is not a structural issue may save you money and headache in the end.
Tip 2 – Match The Stipple Texture
When patching and repairing a ceiling with stipple you will need the right materials and technique to apply the same amount of textured spray so as to make it look as close as possible to the sane as the rest, making it the least possible to notice that any repair was done.
Homeowners can do their own repair by purchasing the necessary products and applying them, but this can sometimes prove to be more difficult than anticipated, therefore one can invest in a home services professional that has the experience of repairing and respraying the texture or removing it and repainting a flat ceiling with fresh paint.
As ceiling repairs can be tricky especially those with any texture you may want to call upon the expert services of a painting company that provides drywall repairs to ensure the best end result. They will be able to provide you with the best advice and product, along with having all the necessary tools and machinery.
Tip 3 – Get The Right Amount of Spray Texture To Match
It can be tricky for a homeowner to do this on their own. Not only will you have to match the texture but how much of the product is applied after patching. You can do a trial and error run on a piece of old wood before spraying the ceiling giving enough time for the first coat to dry before applying the next.
Tip 4 – Target Spot on the Ceiling
Targeting the exact spot to spray the textured stipple to the ceiling is like playing darts. You want to aim for the exact spot. Failing to cover other areas that don’t need to be sprayed is important, otherwise you will end up with the textured spray in places you didn’t want it to. Going over and beyond the actual damaged area with overflow of the stipple spray will only put emphasis on where the repair actually was to begin with. You want to try and make it as inconspicuous as possible.
You don’t want the repaired area of the ceiling to stand out, so sometimes it’s just easier to call in a professional painter who has experience with stipple ceiling repairs and repainting it.
Tip 5 – Sanding After Patching
Removing the old texture from the damaged area of the ceiling is the first step. You will also need to sand the area done before applying the texture properly. This will help the repair blend in better and be less noticeable.
Related Articles: The following are articles you may find useful in doing your own repairs or repainting.
How to Remove Stipple from Ceilings and Repaint
How to Paint the Interior of a House
If all this seems overwhelming and you are in need of hiring an Ottawa Painter
Contact Us For A Quote on Ceiling Repair and Painting
This post was originally published on Aug 3, 2017 and edited Mar 30, 2020

